Sunday, December 07, 2008

Making Pozole Verde con Pollo

Making Chile de Arbol, whoa hot.


Pozole Verde con Pollo (Chicken Pozole Verde)
This recipe is based on a recipe by Anya von Bremzen. You can use canned pozole but for best flavor buy prepared, dried pozole.

Servings: 6-8
I N G R E D I E N T S
7 cups reduced salt chicken stock
2 cups water
4 chicken breast halves with bone and skin
1 pound fresh tomatillos, husks removed, sliced in half
1 small white onion, quartered
2 poblano chiles, seeded and cut into quarters
2 serano chiles, seeded and quartered
4 large garlic cloves, peeled and flattened
1/2 cup fresh cilantro, chopped
1 tablespoon dried Mexican oregano
3 - 15oz cans hominy OR 1 1/2lbs prepared dried pozole**

To Use Dried Pozole
f you are using dried pozole then soak the pozole overnight then rinse. Place the pozole in a pot of water and add 1 teaspoon of salt and simmer for about 3 hours. Drain and use in place of the canned pozole.

Garnish
Finely shredded cabbage, sliced radishes, chopped onion, diced avocados, crema (or sour cream) lime wedges and tortilla chips.


I N S T R U C T I O N S
Place water, chicken stock, a couple garlic cloves minced, as well as 1/4 white onion in a large enameled cast iron casserole and bring to a boil. Add chicken breasts skin side down, cover and simmer over low heat until cooked through but still tender about 25 minutes. Transfer chicken to a plate and shred the meat; discard skin and bones. Skim fat from cooking liquid and reserve the liquid.

In a blender combine tomatillos, onion, poblano and jalapeno chiles, garlic, cilantro and Mexican oregano. Pulse until coarsely chopped scraping down the sides. With machine running add 1 cup of the reserved cooking liquid and puree until smooth. Season the mixture with salt and pepper.

Heat oil in a large deep, heavy skillet. Add the tomatillo puree and cook over moderate heat, stirring occasionally until the sauce turns deep green; about 12 minutes.

Pour the sauce into the cooking liquid in the casserole. Add the hominy (pozole) and bring to a simmer over moderate heat. Add the shredded chicken to the stew, season with salt and pepper and cooked just until heated through. Serve the pozole in deep bowls. Pass garnishes.

Thursday, December 04, 2008

Google Friend Connect

Check out the new google friend connect widgets to display

Sunday, September 07, 2008

Tuesday, August 19, 2008

First Ride with the new Fuji

So I just picked up my new ride, a Fuji Roubaix 07 Pro from Cory the Bike Fixer

This was a great ride from Peawaukee to the Holy Hill area.


View Larger Map

Wednesday, July 04, 2007

Check out the backerboard walls

Here are some shots of the backerboard attached to the studs in the shower area. Not the easiest stuff to work with by yourself especially when you have to raise it up. I used a diamond blade on my 4.5 inch grinder to do most of the cuts.
You can see from some of the photos that it becomes important when laying out your plumbing and electrical to not position them running through the studs close to drywall seems. If you do, and of course I did, and you can't screw off an edge it will tend to bow out a bit, making your end product look like garbage.
Another lesson was to make sure that your nailers and perfectly flush with adjoining studs if you are using them to attach the edge of a piece of drywall or Duroc too. This too can cause a discrepancy in your tile or walls. We'll see what the final product looks like, and how much it really mattered.

Oh yeah, you can tell that I had to take out all of the electrical work I had already hooked up, since I needed to use my roto zip to edge out the drywall.


Sunday, June 03, 2007

Electrical is Done!

Well, it took me a little bit but I have finished running a new circuit to my bathroom, with a ceiling light, and fan. In addition I put in some receptacles off of the old kitchen line. I also added in a switch/receptacle into my back attic storage area.


Saturday, June 02, 2007

Getting the electical in place

New GFCIs in the kitchen. OY.


Roughing in the bathroom


Another angle. Gotta tell ya I am never buying the crappy blue plastic electrical boxes ever again. Complete garbage.

Saturday, May 05, 2007

Day 40

As you can see from the pics there has been quite a bit accomplished in the past several weeks, with still quite a bit more to go, but soon it will be time to start the process that will go the fastest.

Here you can see that the attic space behind my bathroom is getting some needed ventilation as well as insulation. Insulation you say? Yes apparently it can greatly reduce the cost of your heating bills. What will they think of next.


You can see that the insulation on the attic line is complete. I also put in some blow in insulation in the stud cavities that on the floor. Some go down all the way to the first floor, and others only go down a few feet. Fire blocking had apparently not caught on with full steam yet back in ol' 1893.


As with the picture above you can see the beginnings of some built in shelves to add a bit more usability to my already tiny bathroom.

Friday, March 30, 2007

Day 3 of the Plumb Job

Here is some information about PEX.

Shower mixer in place, things are starting to shape up.


Drain for the shower


What a great toilet this is going to make.

Thursday, March 29, 2007

Day 2 of Plumbing

So on the first day there was a lot of demolition, and figuring out what was going on with evyerthing.


This is a great shot of my bathroom and what a mess it is. You are looking at the back wall where a cast iron tub used to be.


Here is a shot in the basement of some of the mess of galvanized pipes that had to be dealt with.


What else would Ray do with the garbage, throw it out the window.


More of a mess in the basement


What a great looking lead J trap to sit underneath a cast iron claw foot tub.


Things are starting to take shape with some new waste drainage and you can see some PEX in the background.


Tie in from PEX into the galvanized. I wonder if that stuff on the pipes is ok??

Tuesday, March 27, 2007

And so it begins again

Here's a quick shot to show the breadth of what is to come ...

Sunday, December 10, 2006

Tuesday, August 29, 2006

Couple more shots of the Cabinets

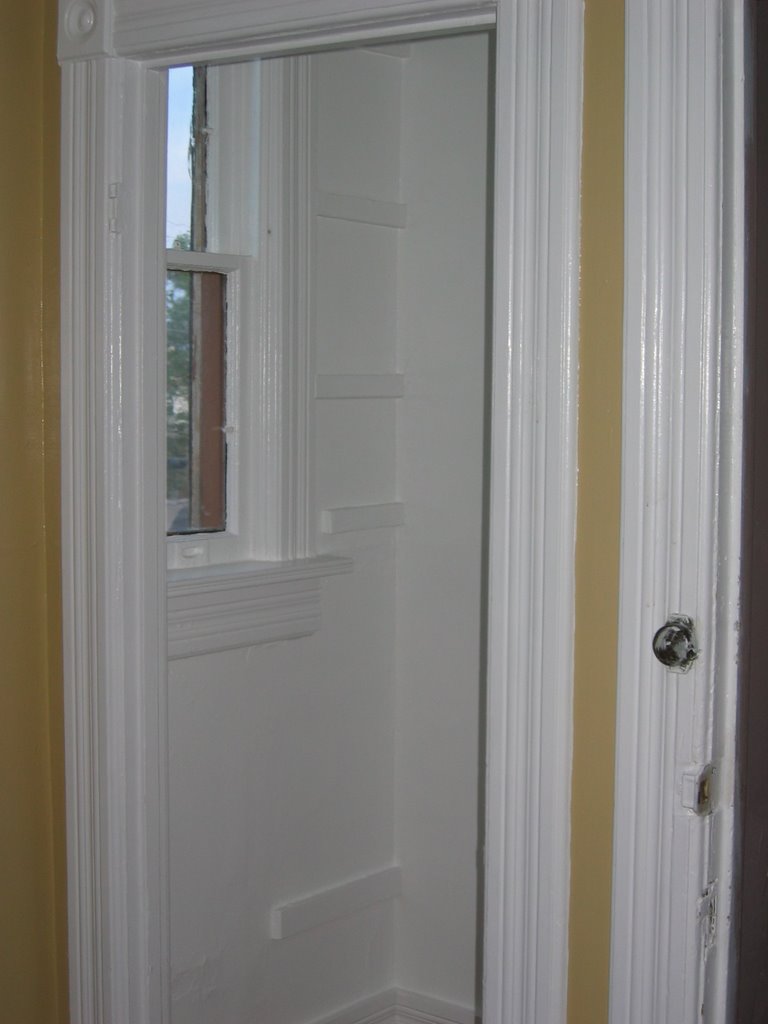
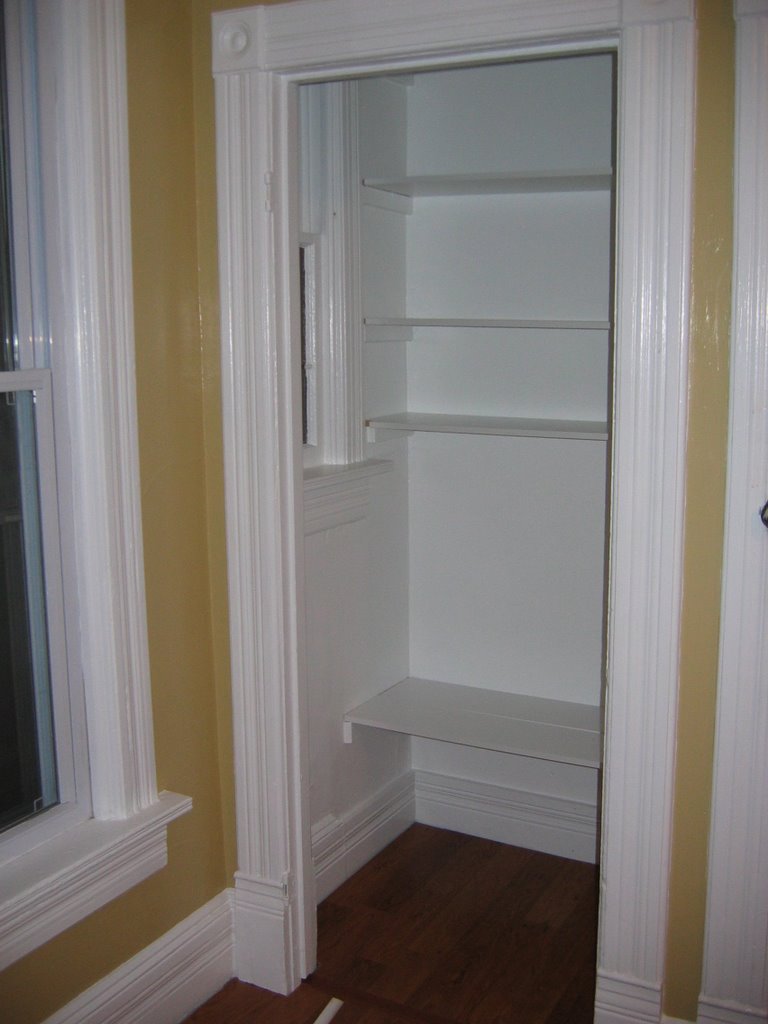
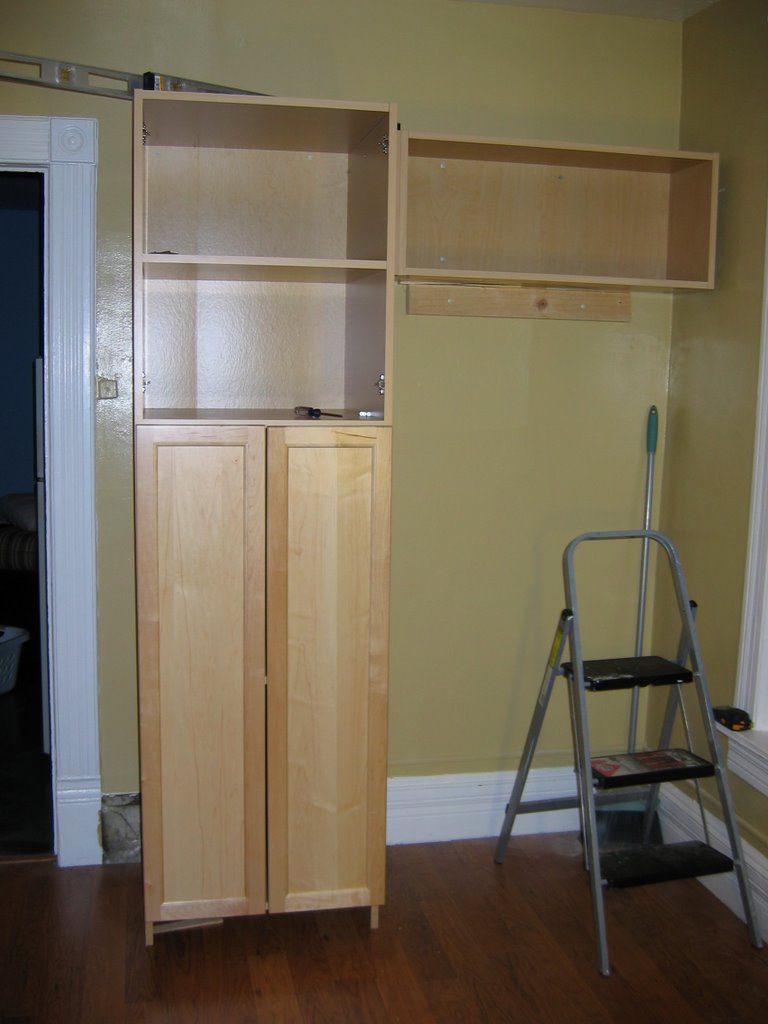
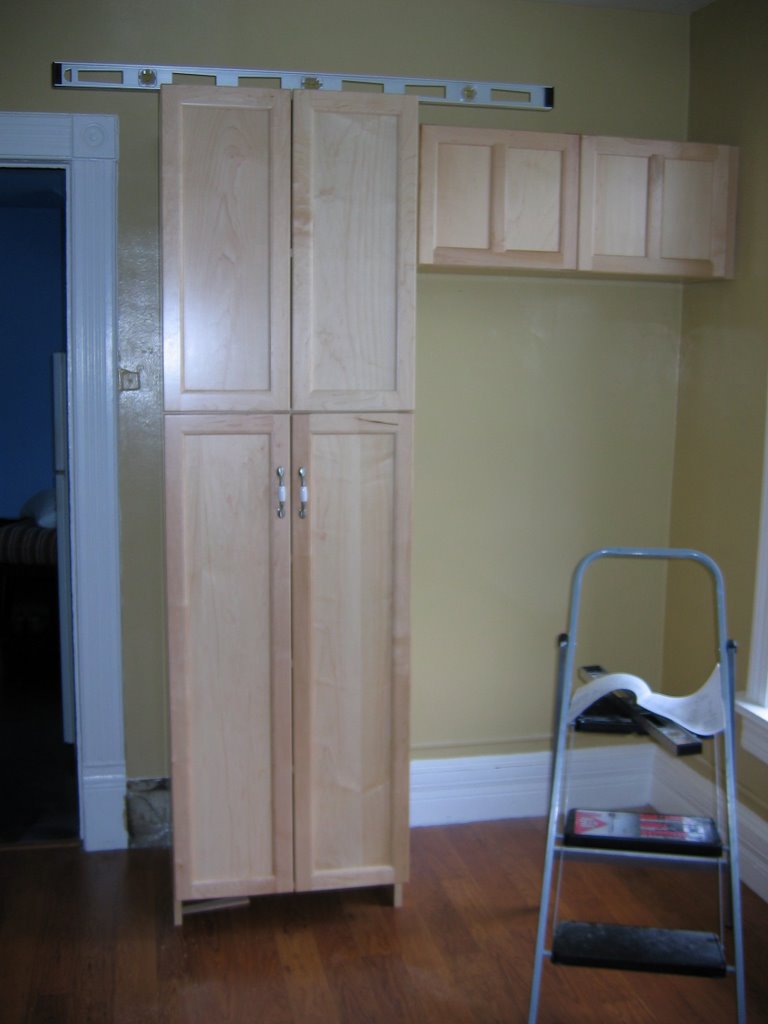
Here is my kitchen pantry without the shelving that I ripped out since it was full of black toxic mold. Ok , not toxic, but Drunk Mike's nontheless!
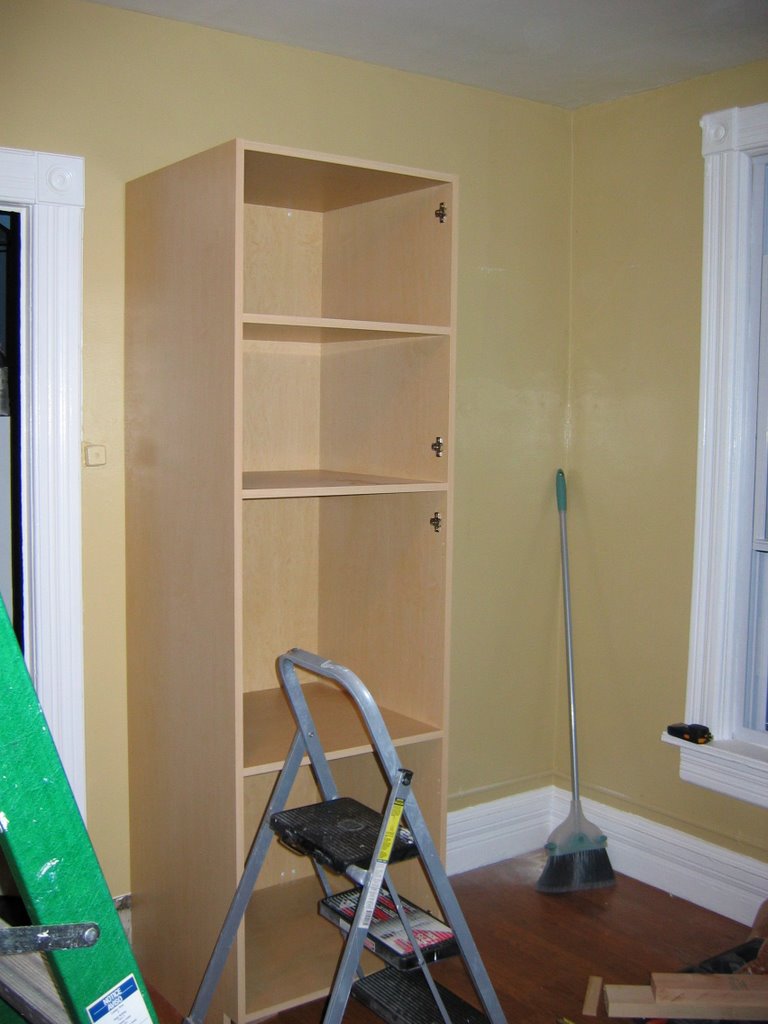
Crappy $5 shelves, but hey, they'll do the job.Can I get toe kick?

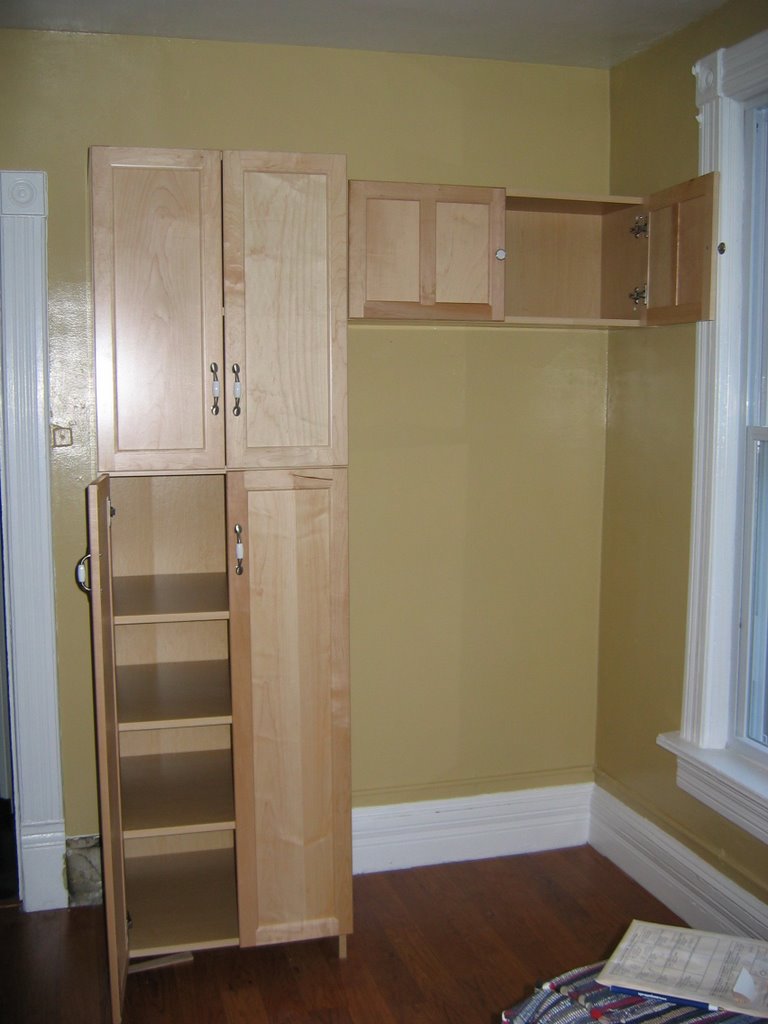
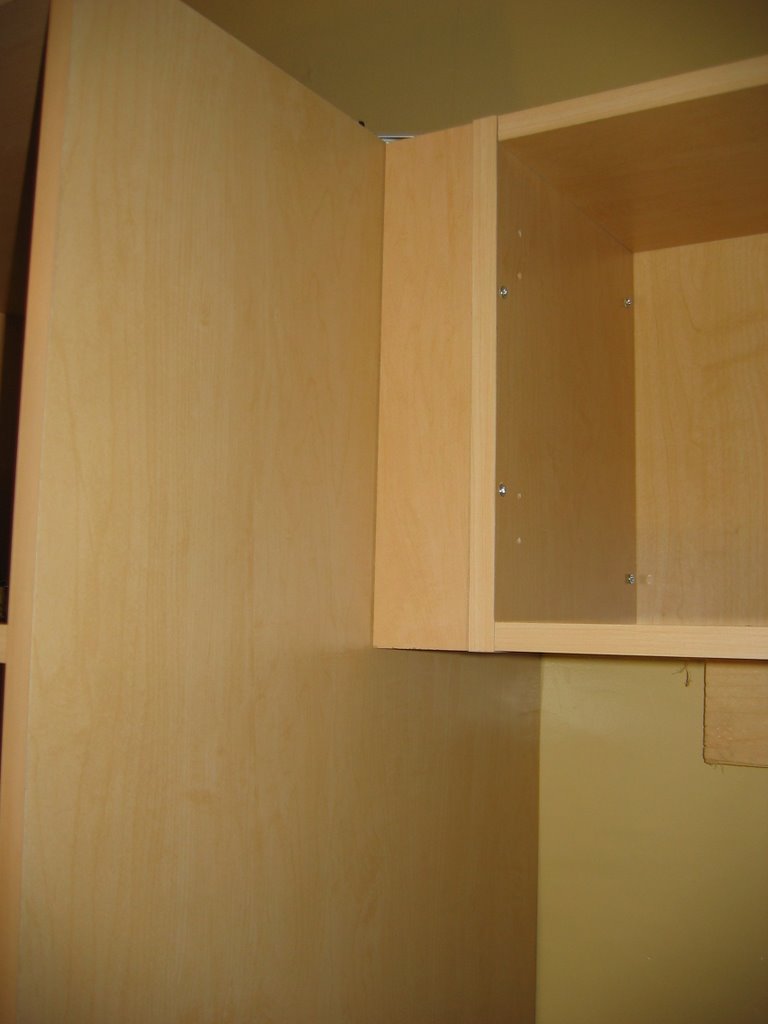
Not the most plumb and level, but hey who is? Also, take a look at the corner where the walls meet. Doesn't look quite right does it?


Wednesday, August 09, 2006

Kitchen Cabinets

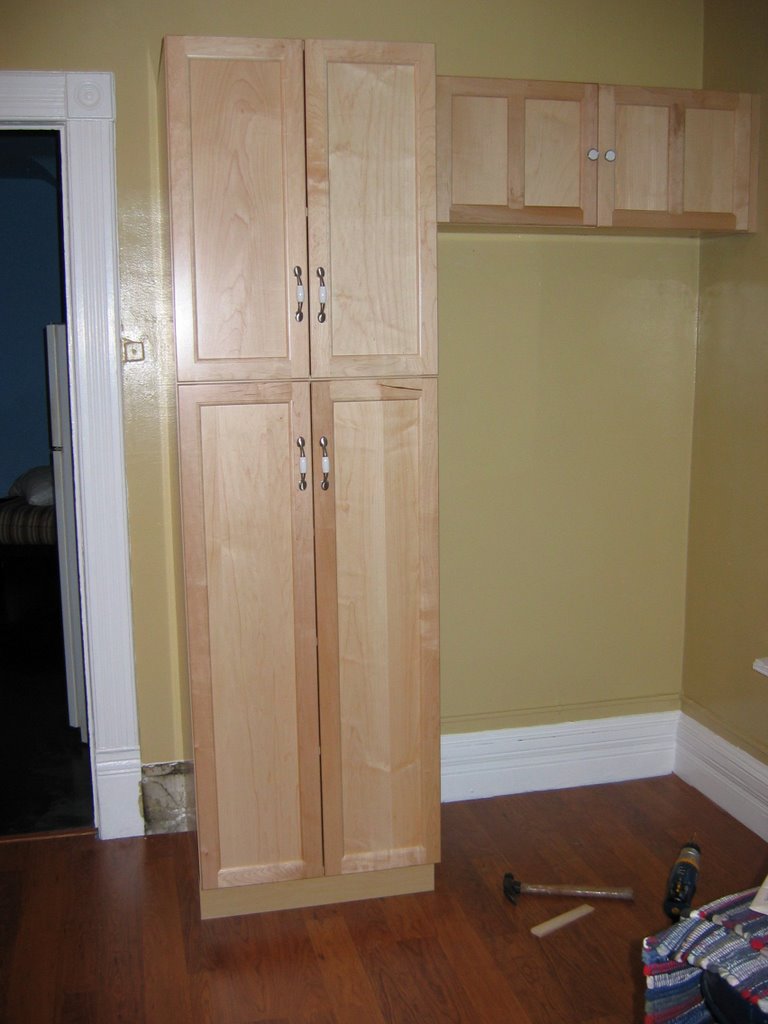
These are the first two cabinets installed on the refrigerator wall


Sunday, July 23, 2006

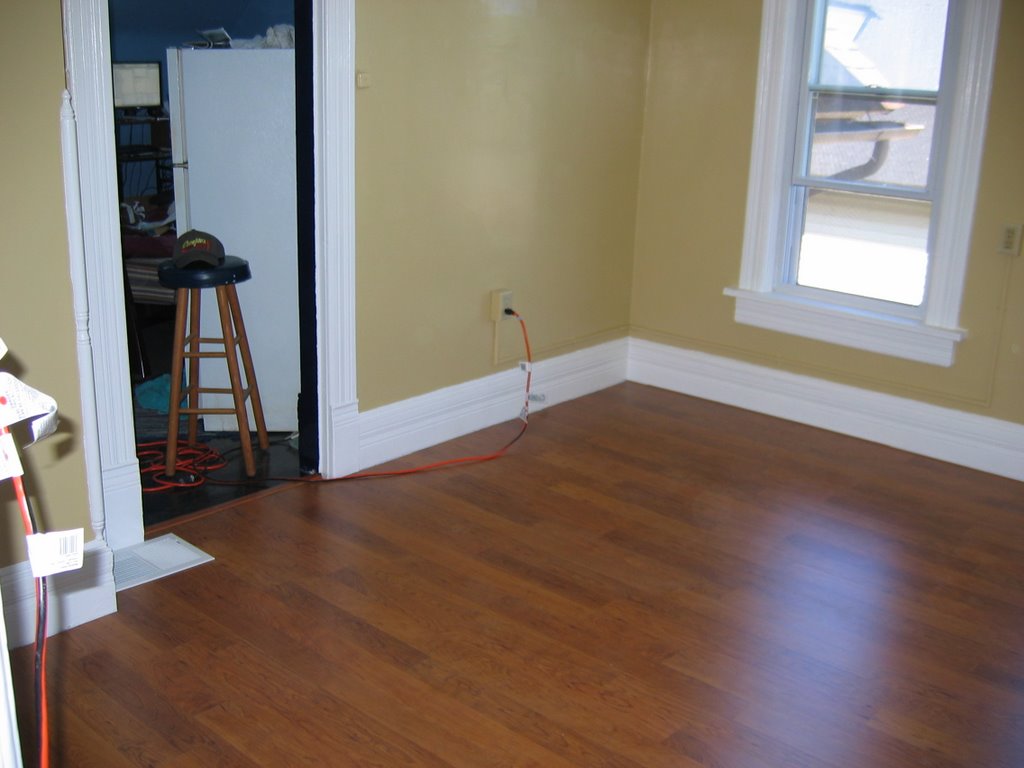
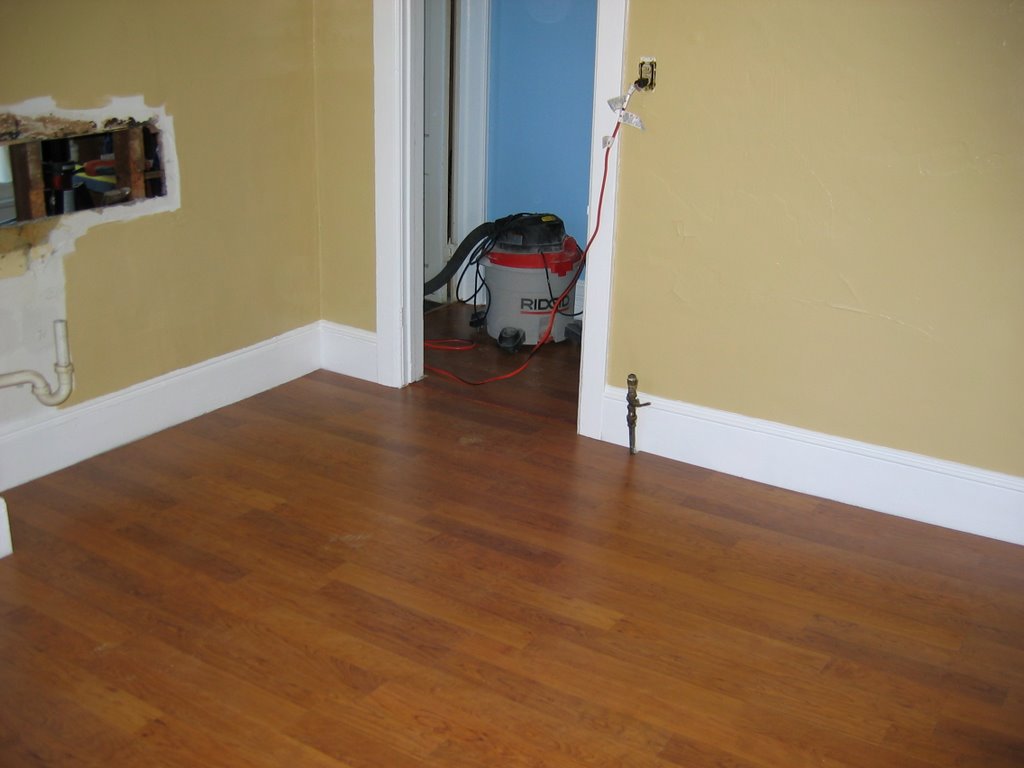
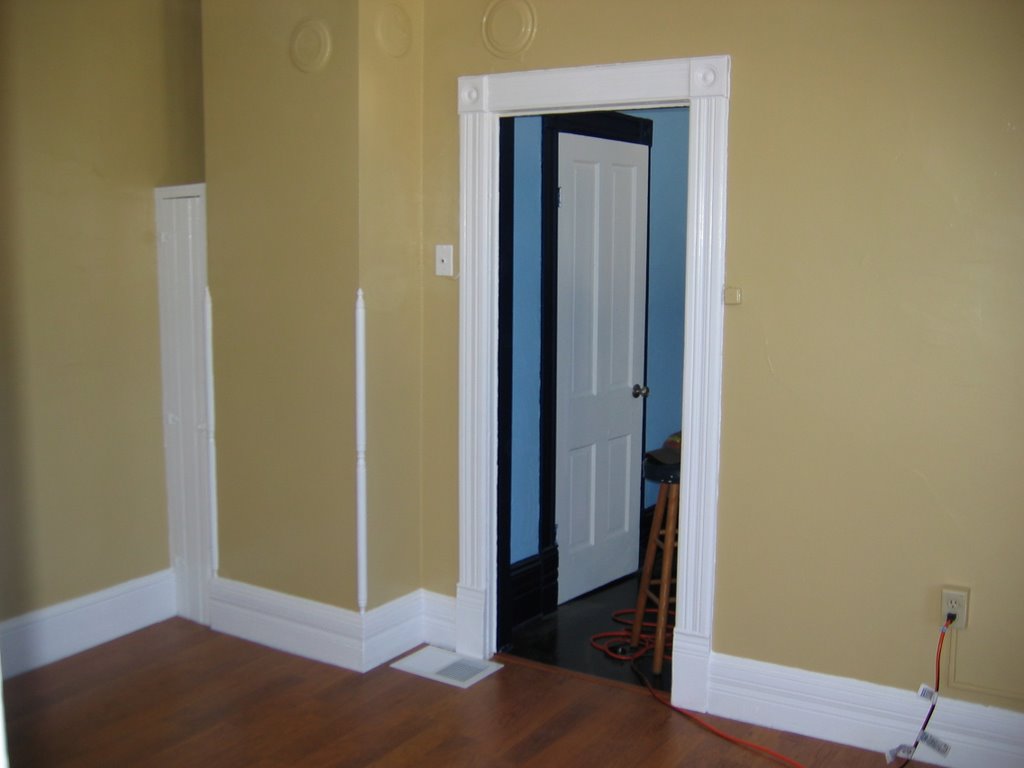
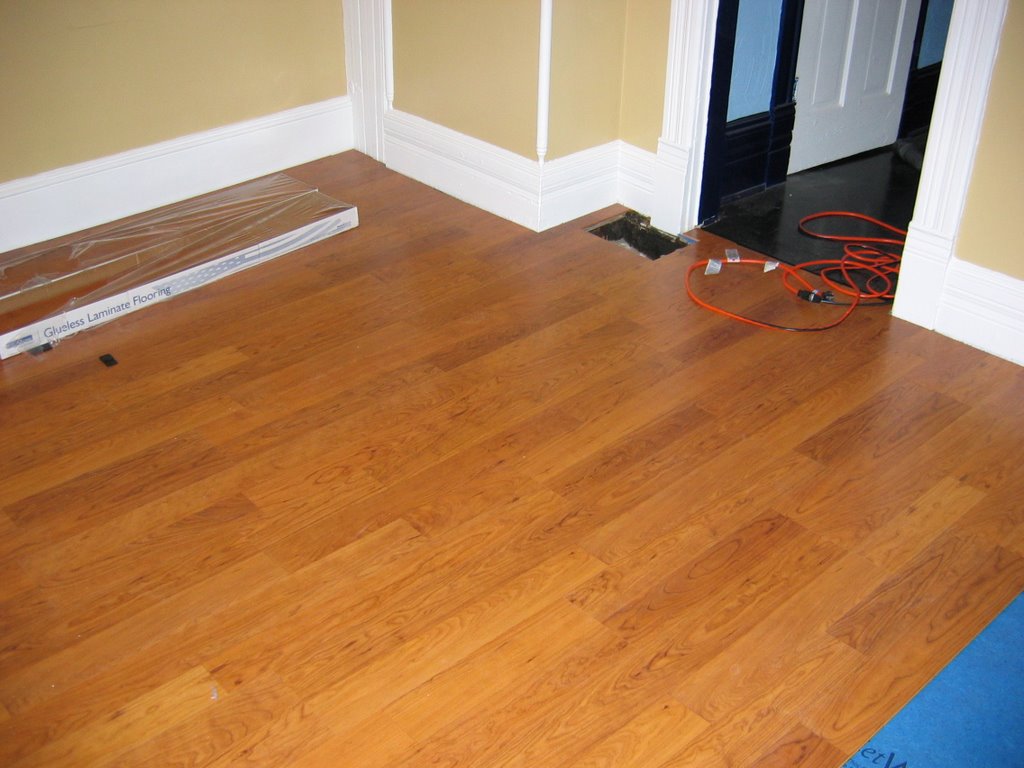
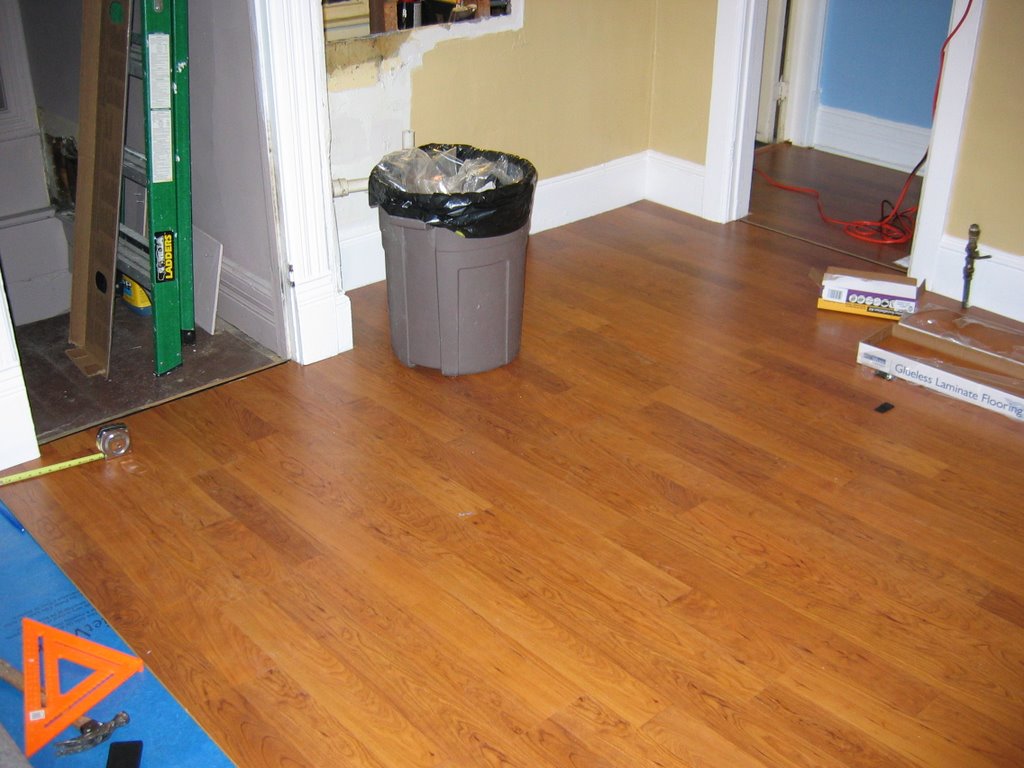
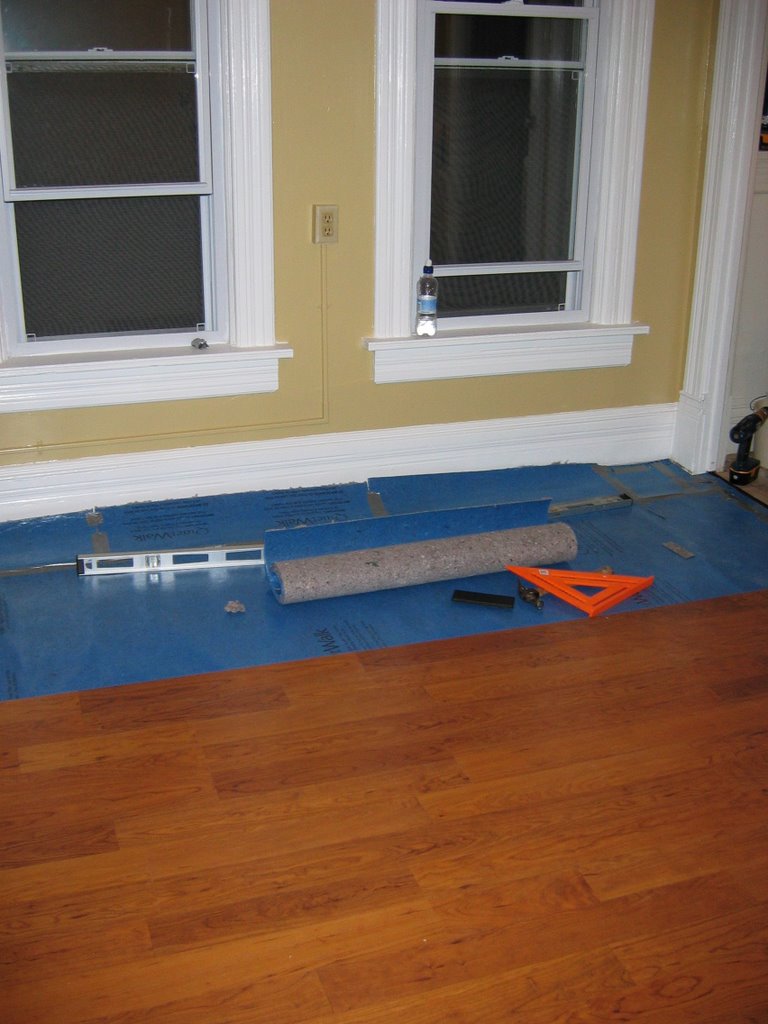
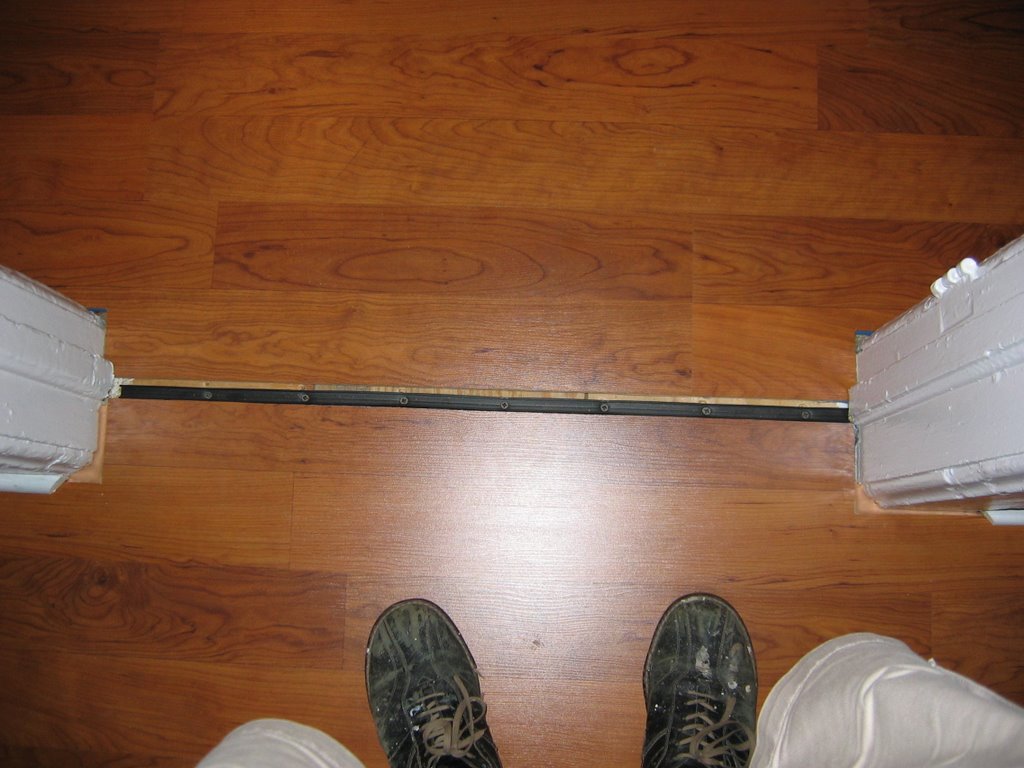
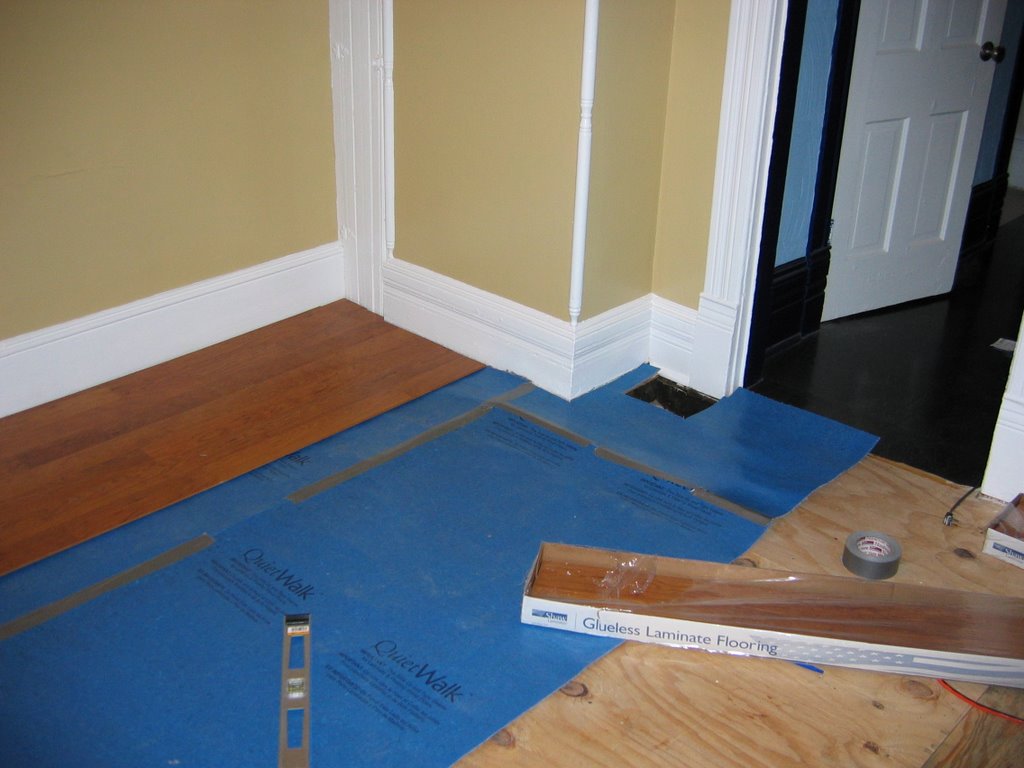
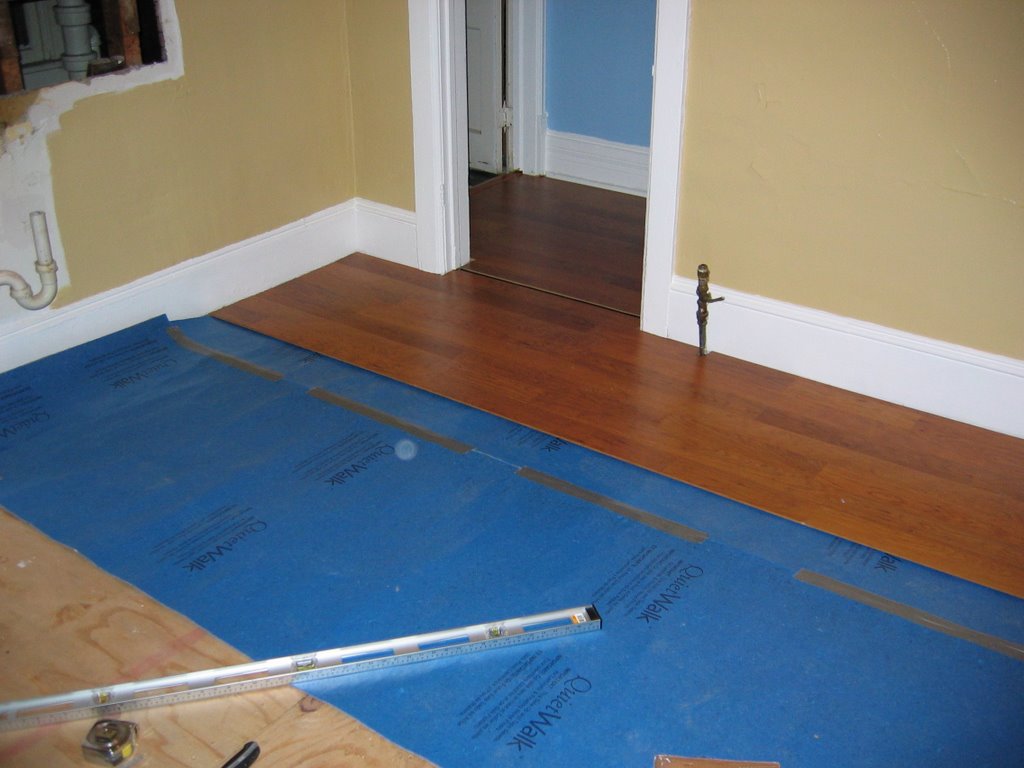
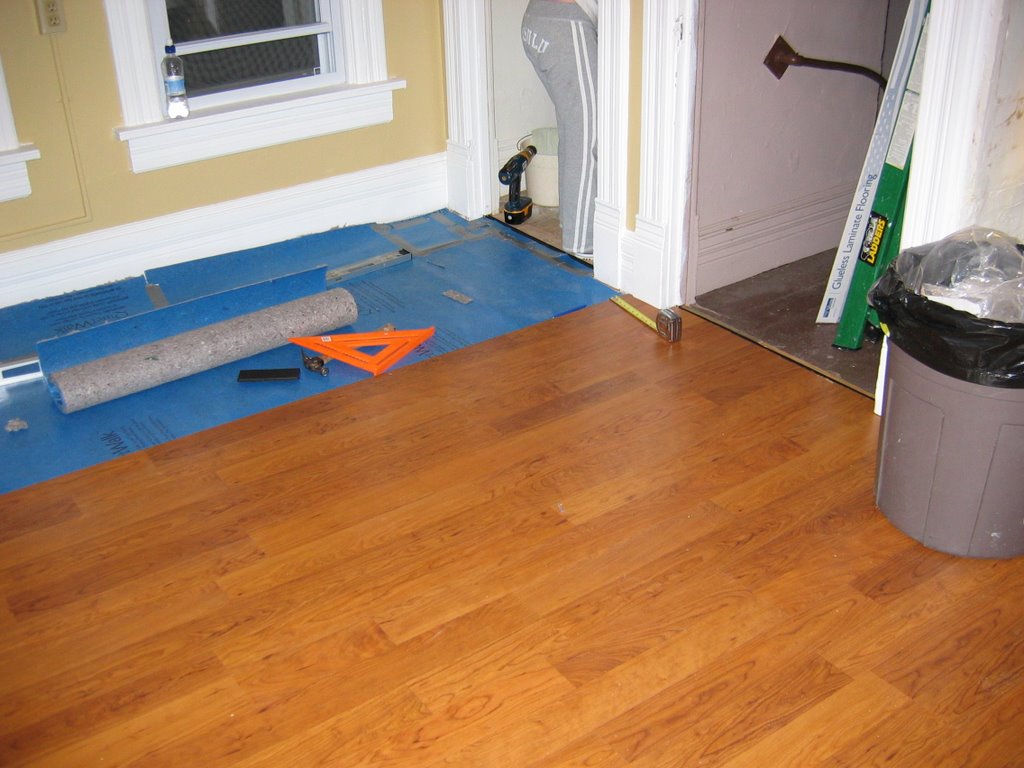
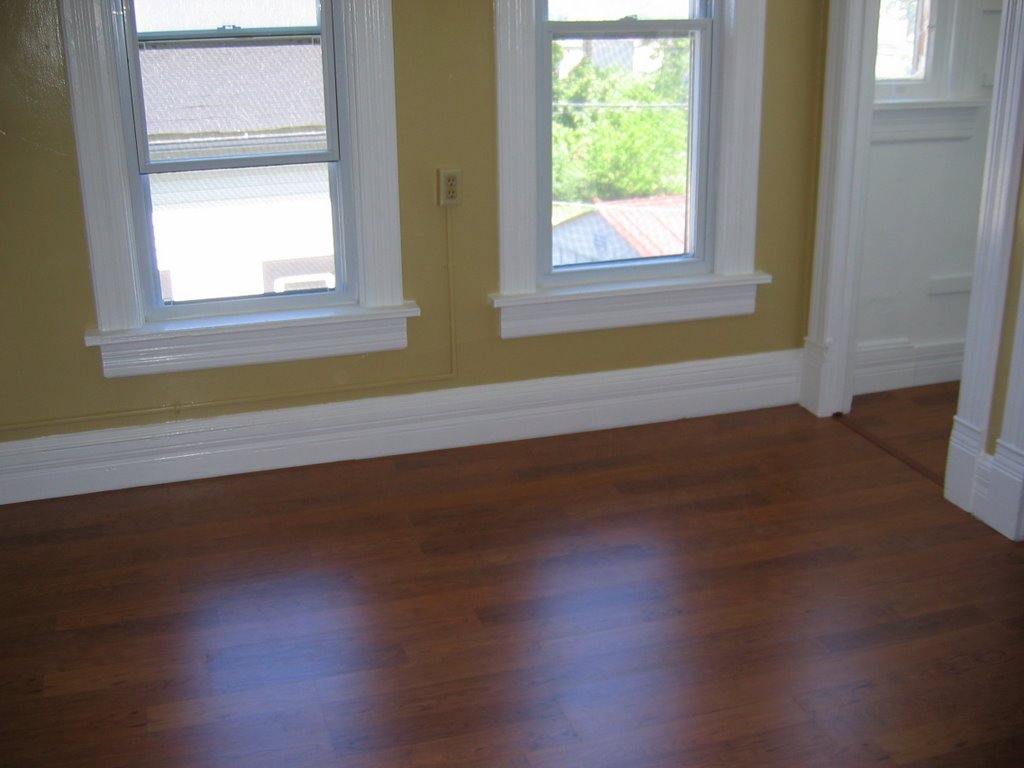
Kitchen Floor - Complete

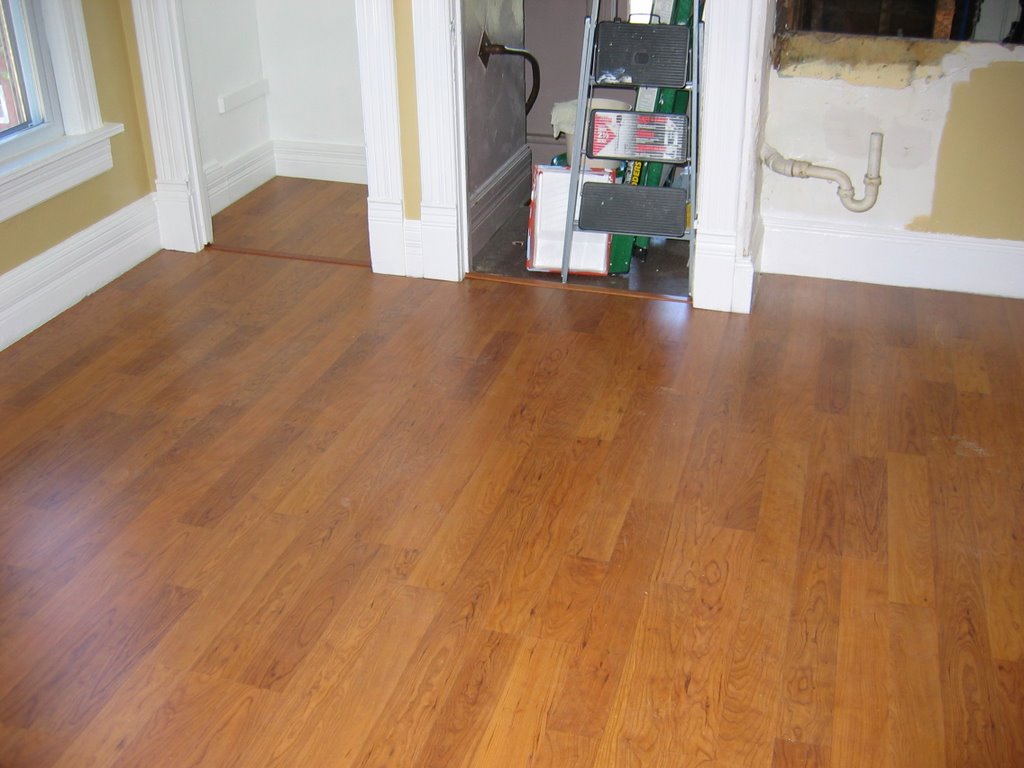
I still have to put the quarter round on, but I think I'll wait until I have my cabinets in place to do that.